Photoshop Courses – New Focus area Selection Tool In CC 2014

The new Focus Area tool in Photoshop CC 2014 is a helpful tool, particularly for photographers, that enables you to make automatic selections based on whether pixels are in or indistinct.
Step: 1
Open your selected image in Photoshop CC 2014 as well as take a couple of minutes to deal with any kind of direct exposure or white balance issues to the general image.
Step: 2
Visit Select > Focus Area … which will bring up the new Focus Area dialog box. Photoshop will automatically analyze your image as well as suggest an In-Focus Array.
Tip: You can also pick a view method to assist you view the selection a lot better. Each of them has their very own benefits, although for this sort of selection work you could discover Overlay to be one of the most convenient.
Step: 3
To contribute to the selection area, you could move the In-Focus Range slider to the right to improve the variety taken note of.
Additionally, when it comes to the Focus Area Add Tool selected, brush over areas of your image you would like to add to your selection.
You can additionally make use of the Focus Area Subtract Tool to eliminate any undesirable locations from your selection.
Step: 4
While the Add and Subtract Devices are fantastic for hard edges, you may have some softer edges that need focus. For a far better outcome, select the Refine Edge button and utilize this process as you typically would.
Idea: Once you have actually gone into the Refine Edge Window, you can’t return to the Focus Mask dialogue box, so make certain you’ve selected every little thing you intend to initially!
Step: 5
When you’re happy with the selection, press OK, which will get you back to your original image when it comes to marching ants highlighting your selected area.
To work on the indistinct background area, invert the selection by pressing Ctrl + Shift + I.
Step: 6
Select the Add Curves Adjustment icon in the Adjustments Panel to add a non-destructive Curves adjustment layer to the image. You ought to discover that the marching ants vanish and also the Curves adjustment layer has a black and white mask attached to it.
Step: 7
In the Curves residential properties panel, click in the middle of the tone curve to create a new curve factor and burden straight upwards on the main standard to brighten up the background.
Step: 8
Once you enjoy when it comes to the effect generated, proceed editing your image as normal.
Related posts:
 Photoshop Courses – How To Learn Photoshop
  Photoshop Courses – 3D Printing Feature in Photoshop CC 2014
  Photoshop Courses – What’s New In CC Next & CC(2014)
  Photoshop Courses – Adobe Photoshop CC & CC Next
 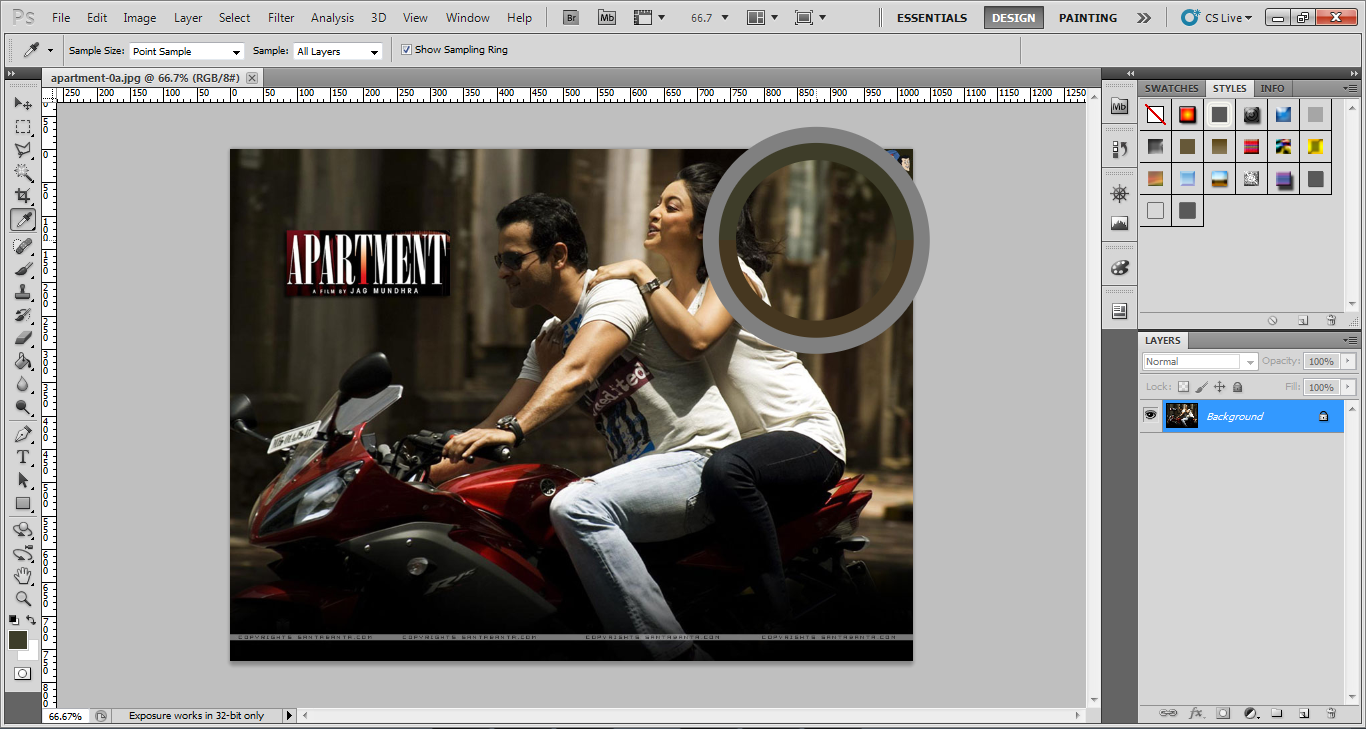 Photoshop Tips – How Do I Reset The Color Picker?
  Photoshop Effects Tutorials – Photoshop Course Training
Sanjay Jain
I am a graphic and web designer in Delhi and Professional Web and Graphics Designer & Animator. I provide SEO Service in Delhi along with SEO, Web and Graphics Designing Courses training with latest technique.